Tuesday

John Hammond 2013 Exhibition


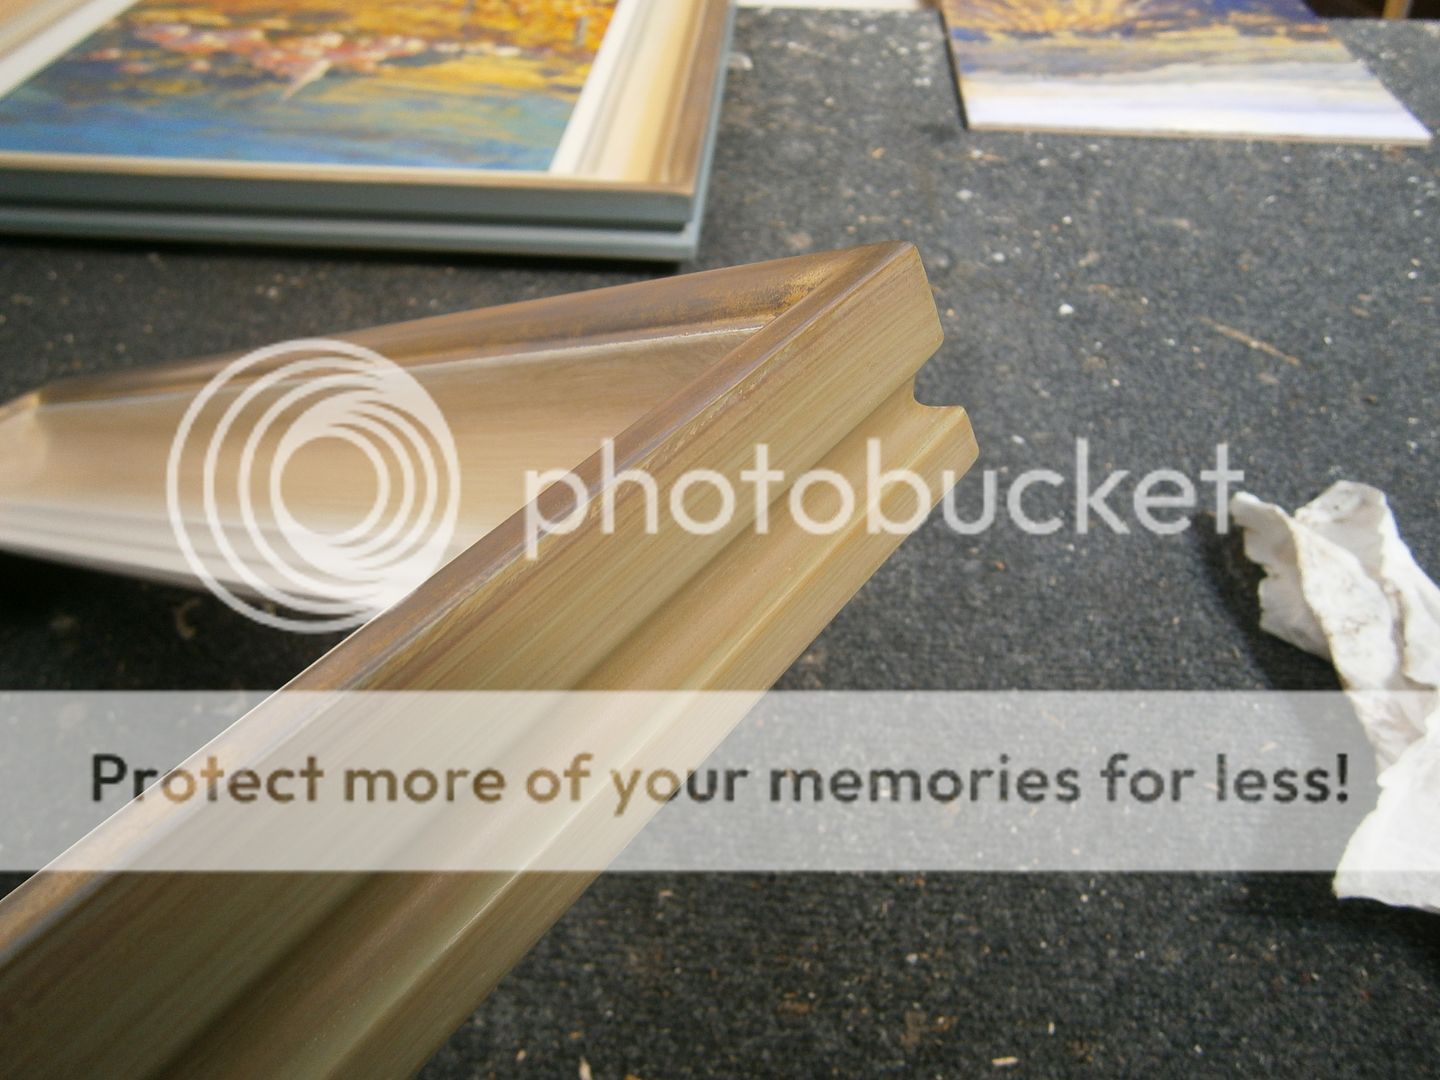
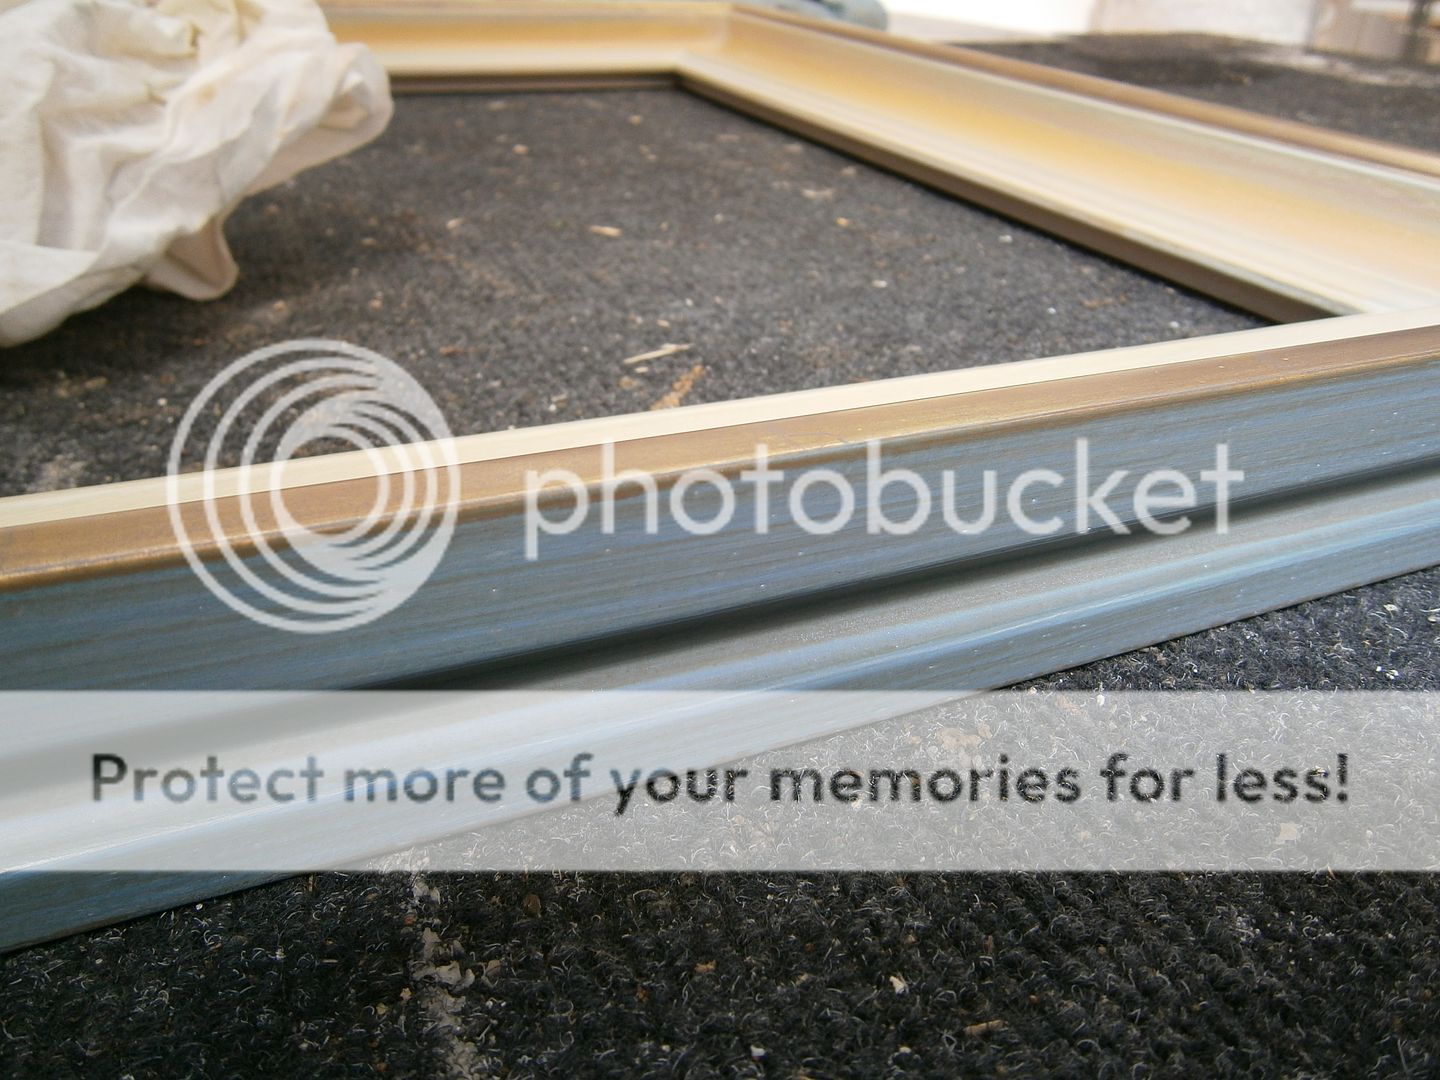
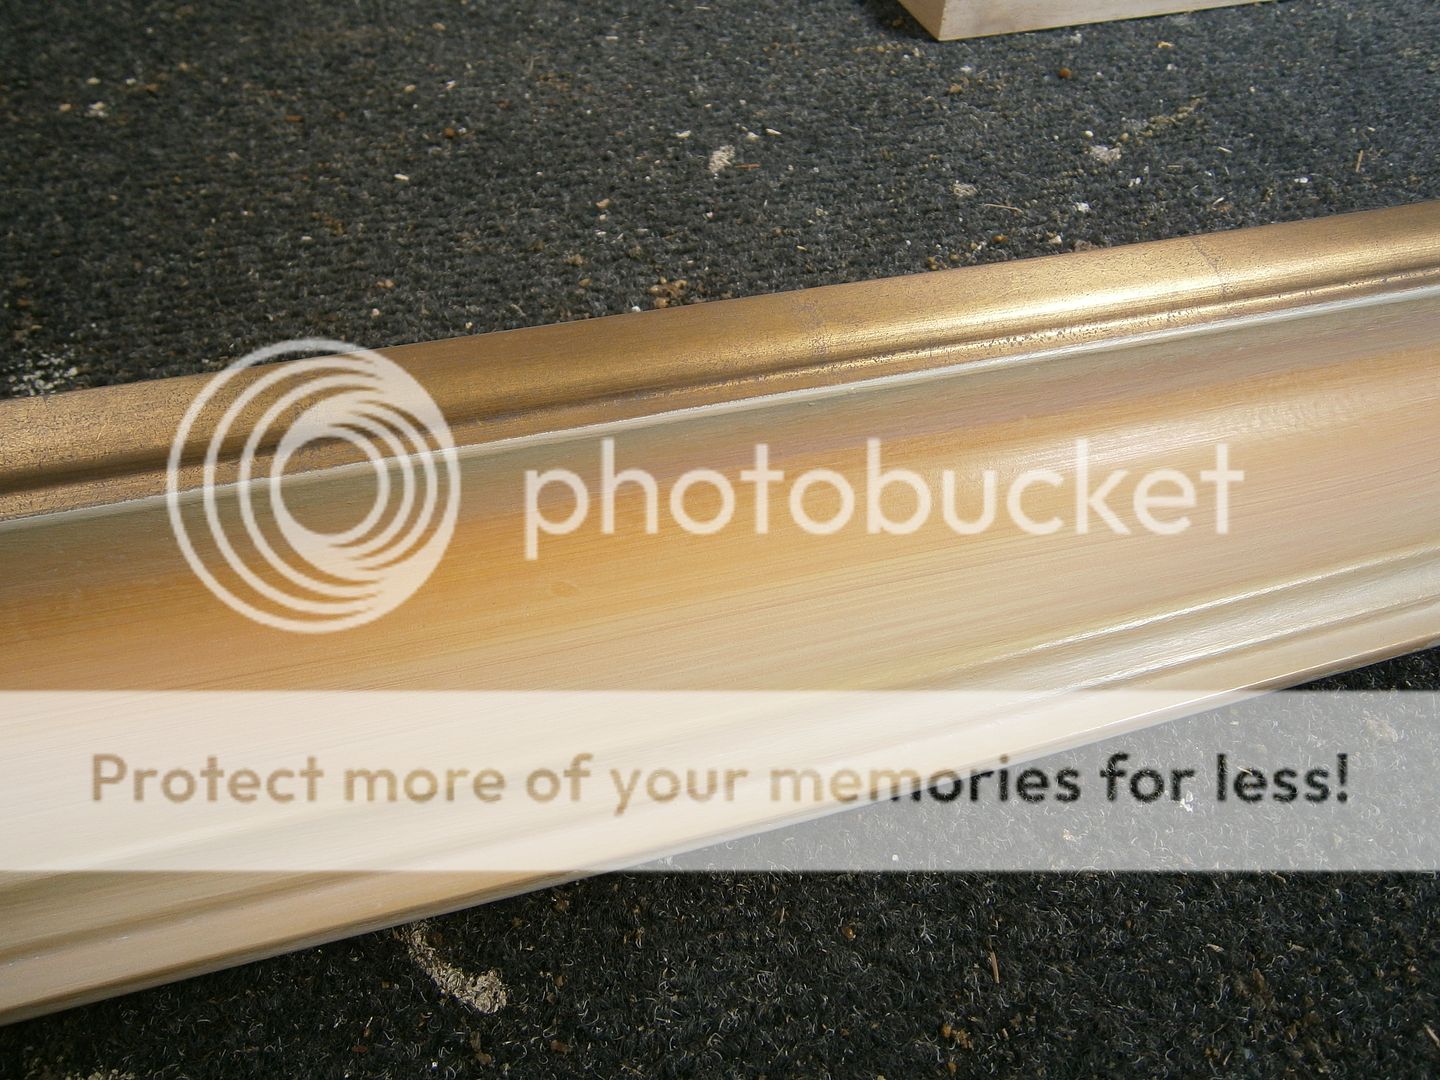
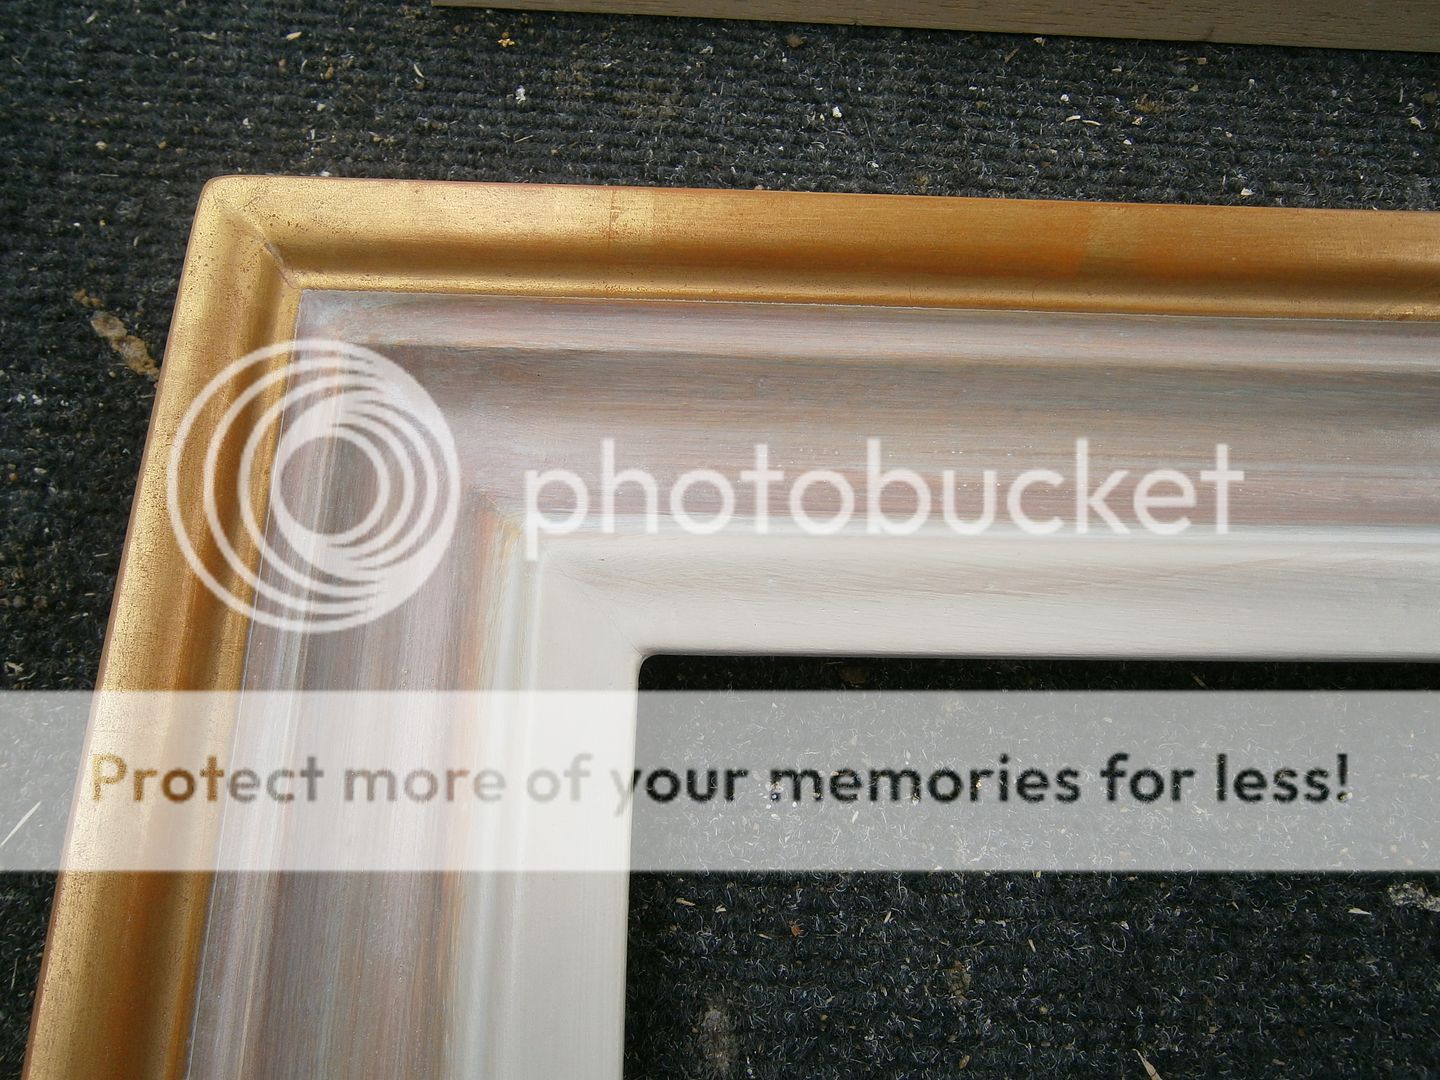
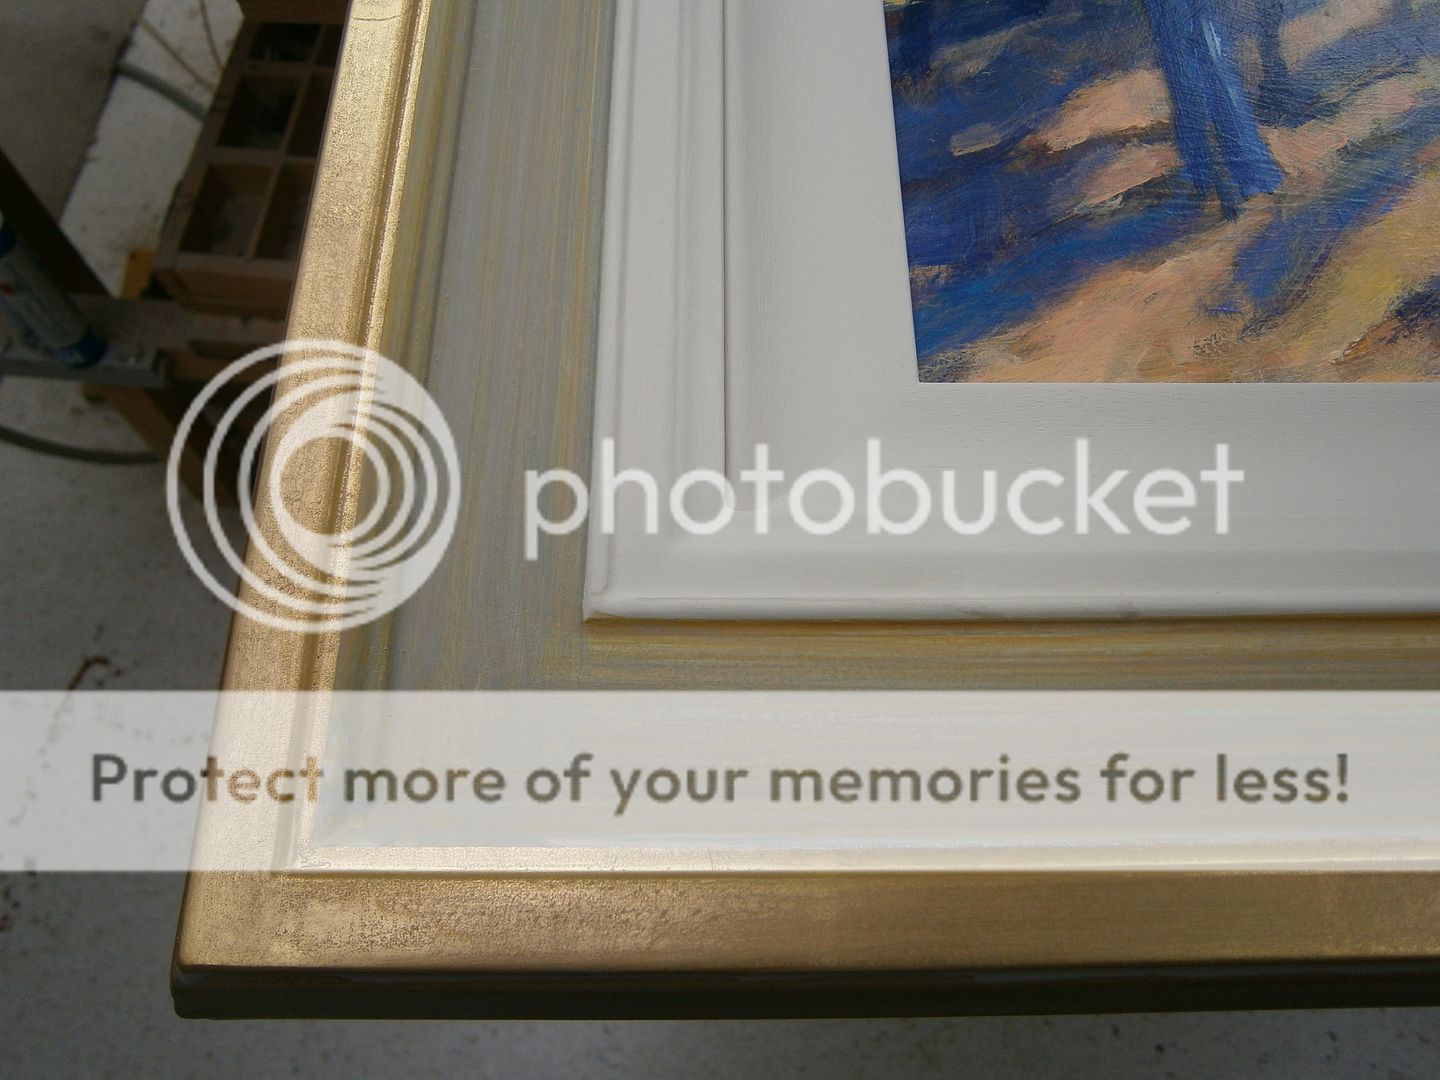
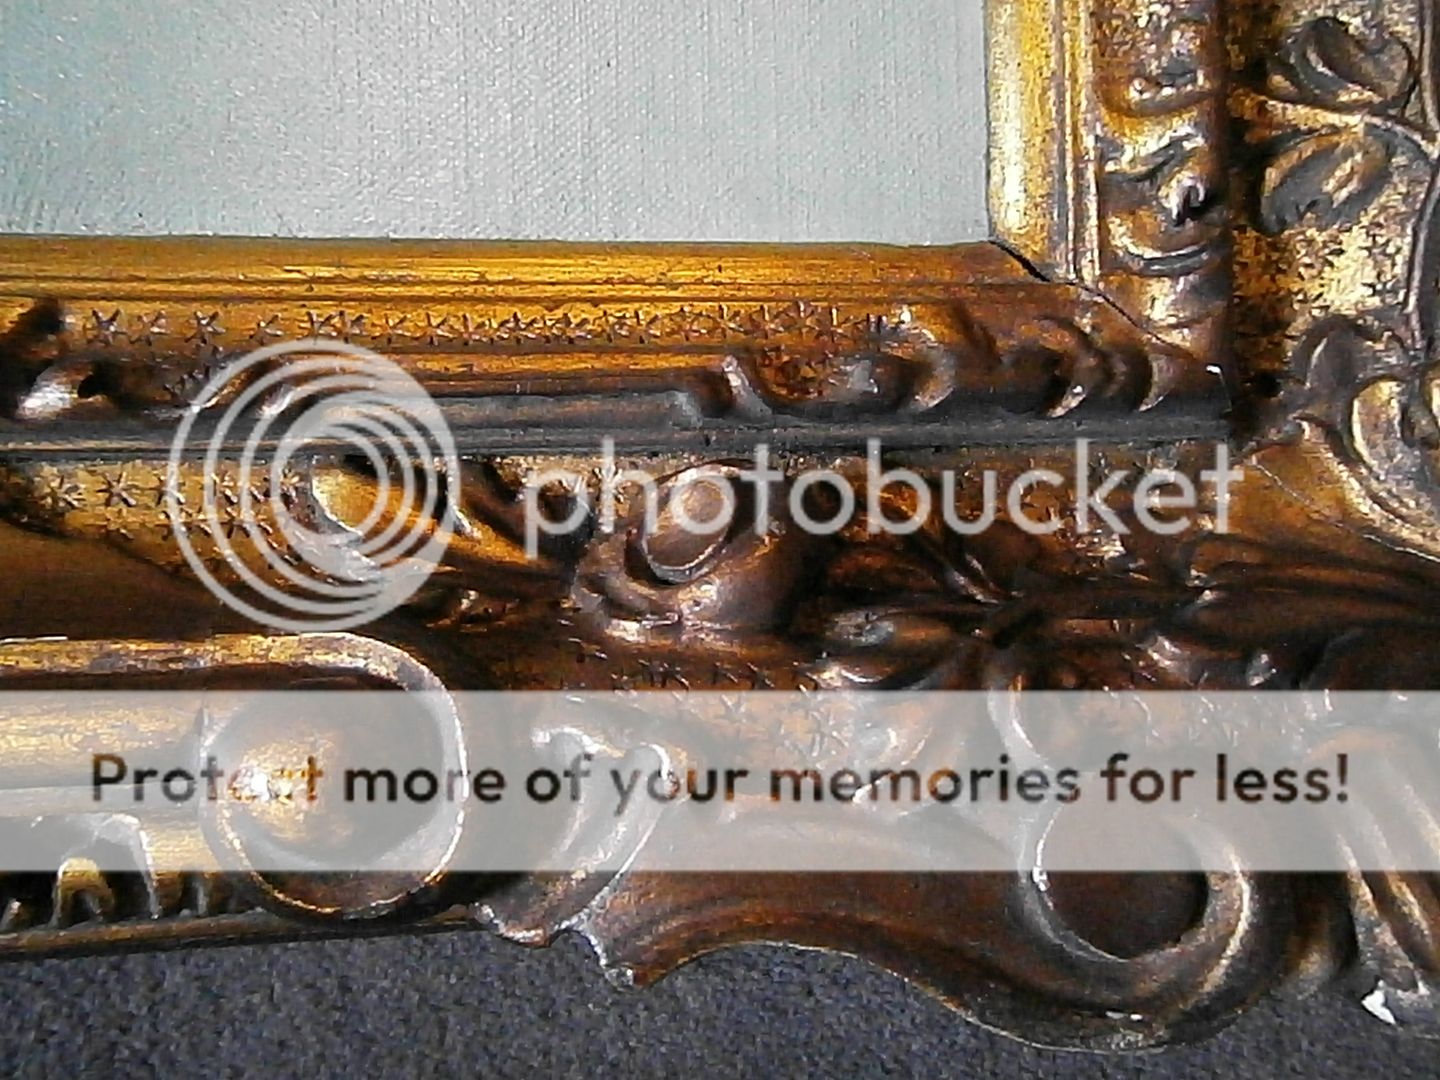
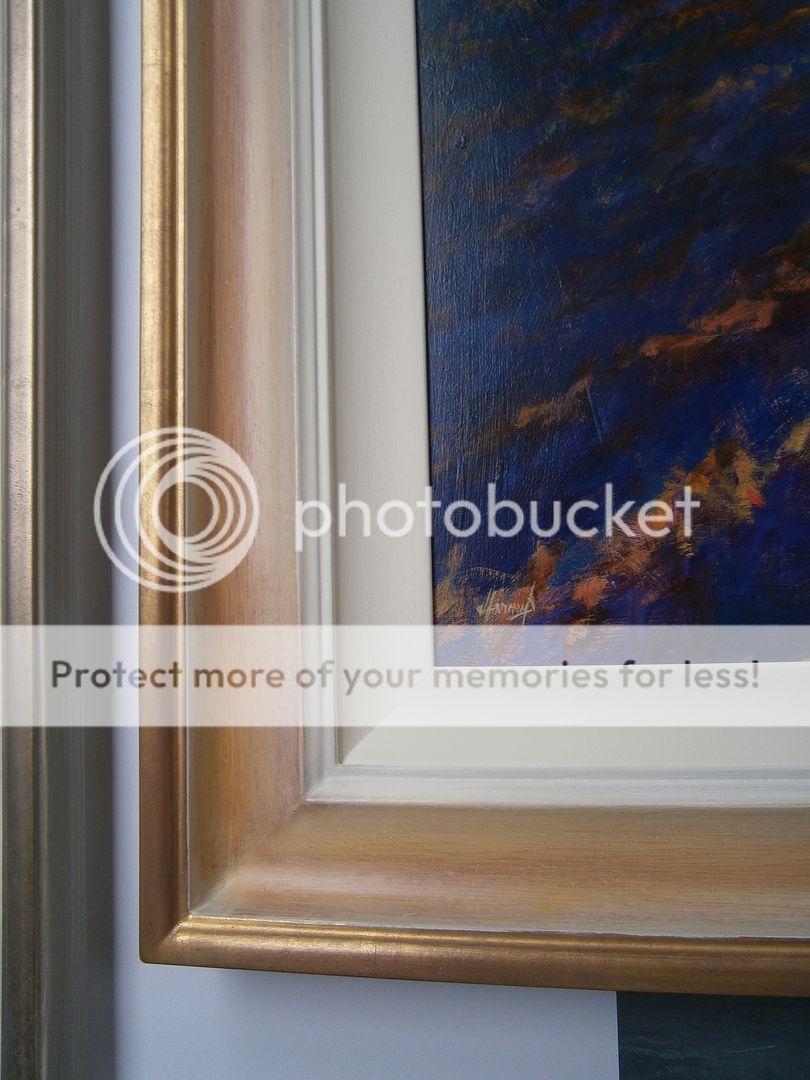
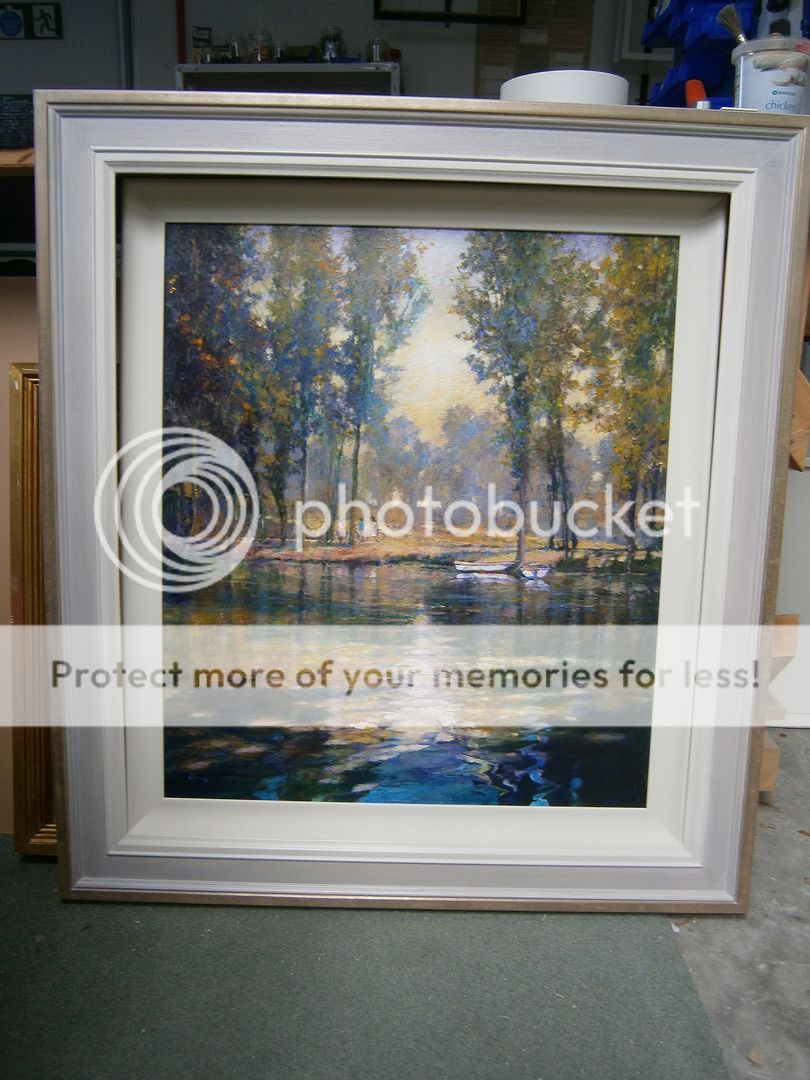
Here are just a few more of the frames I have been working on recently, they are for paintings by John Hammond for an exhibition called 'A Good Year' at Broadway Modern, John Noott Galleries, from 10th to 26th May. To coincide with this exhibition, a 'Feast for the Eyes - Art, Food, and Wine Fortnight' will be taking place in Broadway, and to reflect the warm landscapes and scenes depicted in the paintings by John Hammond at John Noott Galleries, a special menu will be available at Russell's of Broadway, with wines supplied by Bennetts Fine Wines

Friday

An earlier stage...


An earlier stage which leads up to the various finishes seen in the previous post. The gilding is masked off with 3M removable magic tape, then a primer paint (Leylands quick drying acrylic primer undercoat) is put on the middle section between the two gilded sections. Some profiles I would paint free hand, but for ease and speed I find it much better to mask off the gilding.

Lots of examples...


Thursday

Painted sections


All these frames have been gilded, the sides are then painted in primer, then with different colours to suit each painting. After this the un-gilded section of the frame is also painted with a coat of primer, and then a base colour. Next colourwashes are applied to the sides to create a softer look, as the solid bright colours look a little clumsy, I will post a few examples... The main part of the frames are also painted with various colourwashes, a couple can be seen below:


The next stage will be some wax and pigments to add some additional colour and soft sheen, I will post a few examples as almost every frame of this order of 40 will be finished differently.

Friday

GatVell - Taller de RestauraciĆ³n


GatVell restoration and frame making company in Barcelona, Spain, is an old family business established in 1929. It is run by Xavier Ribas who is also an artist, Xavier has a blog which I follow, and the most recent post looked at moulds used in making ornament:


The main website: http://www.gatvell.com/


Thursday

Gesso, sand, bole


Over the last three days the big order of 40 frames have been spray coated in gesso, sanded (not much needed thankfully), and then painted with bole. The bole colours I used vary; red, grey, yellow, orange, and plum. The next step will be the gilding.

Spraying gesso is a big time saver compared to brushing. My gesso for spraying is mixed thinner than if it was being brushed on the frame, as a very rough guide it is about 50/50 whiting/glue. It did take some time and experimenting to get the set-up right for me, I imagine there are a number of ways of getting good results, and I am still tweaking some factors!
I just use a simple gravity fed HVLP (high volume low pressure) spray gun, the very warm (even close to hot) gesso is put into the paint cup, 500ml at a time, depending on the size of frames, this measure will give 1 coat on 3 to 6 frames. I have heard of concerns over the gesso being needed to be kept warm in the spray gun, but I don't see this as a problem, it is used quickly and even after a whole day spraying, I find the gun does not have any clogging at all, a rinse in water and it is cleaned.  
I use a compressor with dryer to supply the air to the gun, really you need a large sized compressor or one that can run continually like a Hydrovane. The dryer is good because it totally cleans the air, but bad because it cools the air, hence why the gesso in the paint pot is very warm.
An alternative to this set-up would be the portable turbine powered units, the Fuji range are very good: http://www.fujispray.com/hvlp-systems/
These could even be better than some compressor set-ups, as the air needs to be very clean and some of these HVLP portable units warm the air slightly which helps with finish quality.
If you are doing any volume then a dedicated spray area or booth is preferable, although as long as you have a form of extraction a practical system could easily be built on a budget.

Saturday

Parcel gilt cassetta


This cassetta frame sample is another one I made ages ago but never put a photo up of the end result. Made up from three mouldings, the walnut flat section has a heavy dirt patina, and the corner scrolls are intended to look rustic and provincial. The gilding is quite rubbed through with wax and rottenstone finish. I think I may do some more distressing on this sample, really just give it some more authentic dents, scratches and aging effects.

Polished walnut ripple


A blog watcher sent me a nice message wondering if I ever finished this frame sample. I did but neglected to post the finished result, so here it is, my polished walnut offset corners, pear ripple mouldings with polished and gilded finish, and rosewood centre insert. There were aspects of this frame that I was happy with, others that I was not keen on, but this is nothing unusual. A finished frame was made up, but thankfully it was a simplified version.

Ash box


This is an ash box frame which has a dovetail oak key fitted on the face of the mitre, simply as a decorative effect. The dovetail is made using a Hoffmann router, usually it is used as a dedicated frame joining system, but from the back of the mitre and using a plastic key instead of a wooden one. With this frame the 10mm deep recess is cut, then the frame is glued and joined on an underpinner, then glue is put in the recess and the oak key is fitted. lastly the frame is strap clamped to give good tight corners all round. 

Liming wax


A simple but favourite finish of mine is liming wax on a natural wood frame. The wood used here is obeche, which sometimes has dark streaks in the grain. Sections of wood with these streaks are not really suitable for limed finishes.

Friday

Size coat


After barewood frames are cut and joined, the next thing I do is fill any imperfections, such as dents or holes in the timber (like in the photo above). Then I give the whole frame a good sand, attention is paid to sharp edges like the back edge and corners. Today I filled/sanded 40+ frames, they were then given a size coat of rabbit skin glue, which is like a primer layer. Wood is absorbent and without size coats of glue, the glue in the gesso would be absorbed into the wood and the bond would be very weak. Tomorrow the second size coat will be brushed on, this is a very thin gesso layer which serves a similar purpose to the first size coat. Some people only do one size coat, but if possible I think it is better to apply two coats, especially on dry or absorbent timbers, it is also just as important to allow enough drying time between coats and layers. 

Tuesday

Big order and rack


These cut lengths waiting to be joined are a part of a big frame order, this was the encouragement for building a large drying rack, which is now finished. This order will keeps us busy for the rest of April...

Plum bole


This big cassetta frame has been painted with a deep plum coloured bole (it's called Victorian Plum), I use a red bole most often, made by Lefranc and Bougeois. There are various colours available from a few makers/suppliers, many are listed or described as period or antique type colours but in reality I think they lack the subtle mellow colour of bole scene on antique frames. To match this on new frames bole colours can be mixed together to reach the required shade.

Mould fences


Three mould fences made from some barewood frame profiles, the ornament impression is put on glass (they are currently on the base wood), in goes the mould making material, and the wooden base is put on the bottom. Once set the glass and original impression are removed and the mould can be used. 

Sunday

Inlaid corner squares


These frames are my variations on early 19th Century German Biedermeier frames. A style which was mainly influenced by the French Empire and Napoleonic styles, as well as this simple wooden frame with corner inserts the German style also had variations of the classic gilded Empire frames with composition ornament corners and centres decoration. The period examples are often made from veneered wood like walnut with ebony at the corners. These wooden frames are quite simple but also have an understated style to them.

My frames here are made from solid walnut and the corner squares are made from African blackwood, but you can also use a cheap base wood like obeche and then veneer the main frame with any number of beautiful woods, veneers can be bought from specialist suppliers or you can get a good selection from ebay. The corner inserts can be made from ebony, rosewood, or any hard wood that takes a good finish and they could also be either solid or veneers.


The process so far; the frames were cut to size as normal then the inlay area was removed  on the table saw, using a fence in the same way you would make lap joints. The inlay wood was then cut on the saw into 5mm strips and then cut to size to fit perfectly in the recess. You could in fact do away with the inlay part and just stick the 5mm (or whatever thickness) on top of the corner, but to be honest I think the recessed corner looks better. 


The last step so far was to join the frames as normal, and then glue the inserts in place. Next will be some sanding, layers of sanding sealer/cutting back with wirewool, and wax polishing. I will also be making one of these types of frames with gilded rosettes which are added on top of the inlay square. 

Great frames

Louis XIII carved reproduction leaf and acorn frame 

18th Century English carved frame

20th Century American distressed tulip and gilded slip

19th C? carved frame - detail of star punched ground

18th Century English carved frame

19th Century reeded frame

I did some fitting work at a gallery today in Broadway, they have some truly great paintings and frames, here are a few corner examples. As well as a world class selection of art, they have a great website, one of the few in the world which shows many of the frames with the paintings, and I love them for that fact!


Spray twirler


Another job that I have got done at long last, is to make a rotating table top for the spray booth. You can buy simple metal tables and expensive ones for this purpose, but I always prefer to try and make something myself and none of the ones I saw online did quite what I wanted. So my table is made from an old walnut veneer repro cupboard, a lazy susan bearing (idea poached from Bronislaus Janulis), a piece of 6mm MDF, 4 drawer slides, and some flat mouldings. It works well and can support surprisingly big frames which can't be rotated fully in one go, but do go half-way and then moving the large frame slightly on the supports means the whole frame can be easily sprayed all round. The largest size (at around 25" x 30" or 24" x 36") we make regularly does fit easily though, and can be rotated fully. The only thing I need to do is watch the build-up of gesso on the slide bearings when the arms are fully extended, I might need to design something to cover these but I will see how it goes for now.