Saturday

Splice as nice


Mountboards are available in many different colours, the standard sized sheet being around 32" x 44", over this size there are 'Jumbo' sheets which are around 40" x 60" although the choice of colours is quite limited.  Over the Jumbo size the choice of colours becomes very limited, although you can get sheets up to 48" x 96" and 64" x 86"

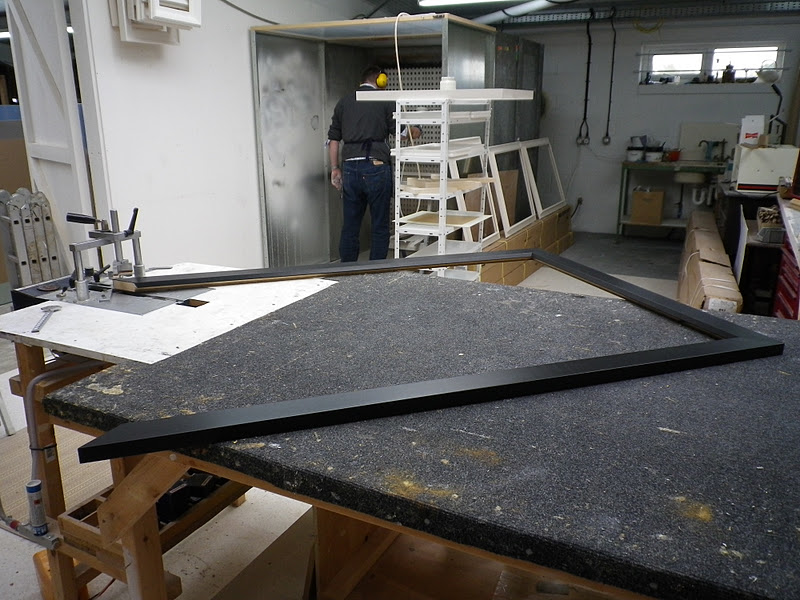
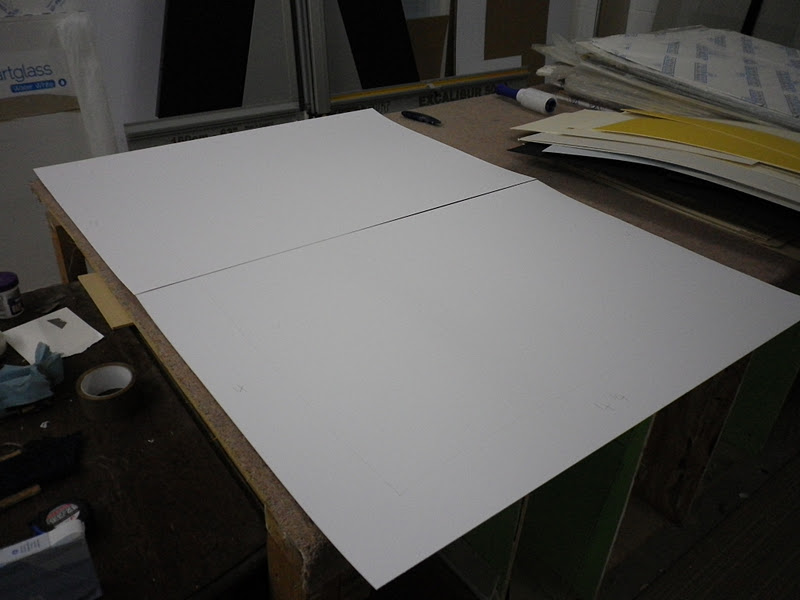
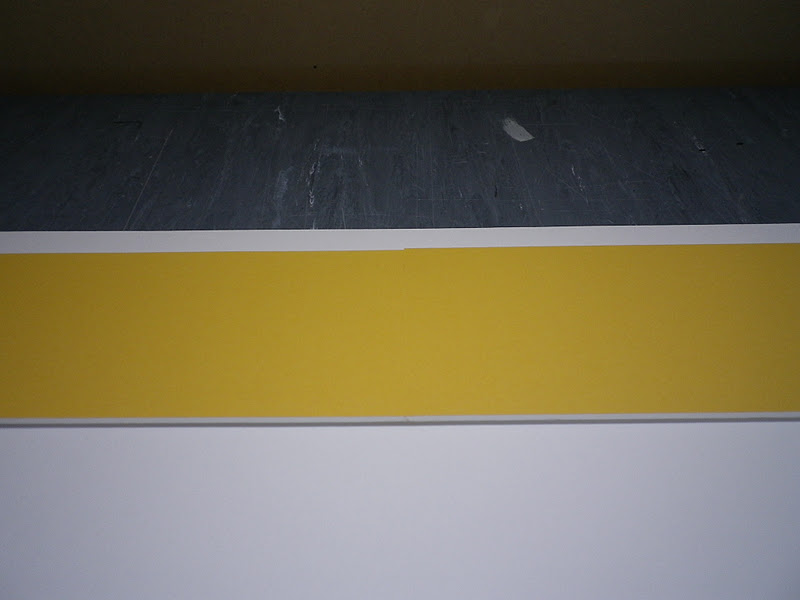
For this mount (external size 54" x 38") there was no colour close in the Jumbo or larger sheet sizes, and this sand yellow was absolutely perfect for the art being framed, so we spliced two smaller sheets of mountboard together. This involves cutting two bevels where the join will be, butting the cuts together and fixing with tape, the join was then reinforced with mountboard. The join is very hard to see, especially as a picture of this size will rarely be viewed close up.

Sunday

Double float


This artist's print is float mounted on 5mm foamboard, then a gap of 1/2" is left all round up to a silver mount slip. The mount slip and mount are also floating on 10mm foamboard and the outer edge of the mount has a bevel edge. Then another gap of 1" is left to the frame rebate, where a black spacer keeps it all set back from the UV acrylic glazing. The silver box frame has been cut down slightly.

Egg and dart

Saturday

Stretcher bar re-sizing


These antique stretcher bars have been reduced in size, by about 6" on the short side and 10" on the long side.
12 sections have been cut out 
(8 from the outer bars and 4 from the cross bars) so we can keep the original adjustable corner joints. The cuts have been glued and joined using two oak dovetail keys in each joint. Next comes the cutting down of the frame.

Example finishes


The top frame has a water gilded sight edge, it is then sprayed with a red base paint, on top of this is sprayed black paint which is very thin so the red colour shows through, it is finished with wax. The frame above is water gilded in 12ct white gold with a painted slip and distressed paint on the sides.

Adding sections to the Neoclassical frame


Here I am adding some different sections of wood to build up the required profile. We are making a corner sample at the same time.

Friday

Two colour spray finish


Gesso samples


These frame samples have been made for an artist, the are all finished in gesso with some different wax finishes, you can't really see the difference the the photos, but there is a slight variation.

Black and gold


A black and gold frame with red base colour.

Tuesday

Sprayed box frames


These box frames are made from tulip, which is a good wood for painted and gilded finishes. The frame in the photo above has a sprayed on gesso base which is given a coat of white primer which is then sealed with a matt varnish.
The frame in the top photo is the same as the first, but after the primer coat it has had a bright white gloss spray finish which is sealed and protected with a gloss varnish.These frames are very simple and cleaning looking, with seamless corners as the mitres are not visible. It is also possible to spray directly onto the wood, building up the paint layers to get a solid finish.

Saturday

New samples


I've been meaning to make these samples for ages, I had to change the router bit on the dovetail jointing machine (Hoffmann) today for the big neoclassical frame moulding. There are 3 sizes of router bit and the keys are made from plastic, although the middle size also has some keys available in oak, beech, ash, and aluminium which can be used for some decorative effects.

Usually the key is only seen from the back, but with these I routed the dovetail all the way through the moulding, from the top we have:
ash frame, oak key, with liming wax
oak frame, aluminium key, with black wax
oak frame, ash key, with Harrell's antique wax
oak frame, beech key, with finishing oil

Red primer


Here is my spandrel experiment after it has been sprayed with red primer, next comes some sanding before some black paint is put on the gadrooning and rosettes. 

Neoclassical frame... eventually


This simple flat moulding with a bevelled inner edge will form the base of a reproduction 19th Century neoclassical frame. It's 4 3/4" (120 mm) wide and will have 5 more sections added to make the profile, it will then be water gilded.

Tray frame


We have made a few float frames recently, this tray frame is made from two mouldings joined together which are then painted black. A wooden subframe is used so that the painting sits back from the face of the frame by 4mm.

Finished panel


Here is another painting by Julie de Bastion, framed by floating the panel on a painted backing, in a painted slip and frame.

Friday

Spandrel


This is just an experiment/sample frame I am making, a spandrel is usually used when a painting is circular, oval, or some other irregular shape, and it is to fit in a traditional rectangular or square frame, as opposed to a round or oval frame.
The window is cut from MDF, this is primed and then the moulded ornament is cast and glued in place, for the spandrel aperture I picked a gadroon ornament (this is sometimes called a pie crust), which is a typical ornament for a neoclassical frame, and is often seen on oval or round frames. The corner rosettes are intended to break up the area in the corners. The outer frame is a pretty standard fluted cove with acanthus leaf corners which I made some time ago. Next a red primer coat will be painted on, before the spandrel is finished with bronze powder. I am also working on one with a round aperture, I will post some photos as it progresses.

Work in progress


In the top photo I am in the process of joining a big frame on the underpinner, in the background Mark 'gesso' is busy spraying gesso on frames. 

The next photo shows a floating type design, a canvas will go in the inner frame which will be mounted to the linen mountboard which is backed with 3mm MDF, the outer frame has been extended to accommodate the extra depth.

The next couple of photos show another floating design, the canvas panel is backed with foamboard which is secured with gummed tape. This foamboard will then be fixed to the backing board and will give the floating effect, a 1/4” gap is left all around the image, the frame is a scoop slip with an outer box frame which are both painted.

The last couple of photos show a canvas which is screwed to a backing board, the frame is sprayed with gesso and then has a paint and wash finish. The painting above is by Julie de Bastion:  

Thursday

Re colour


This frame has been re finished in a different colour, it was black over red to begin with, it is now a strong gold colour with some rubbing through to show the black/red base.